Step-by-step Instructions
Configure your agent
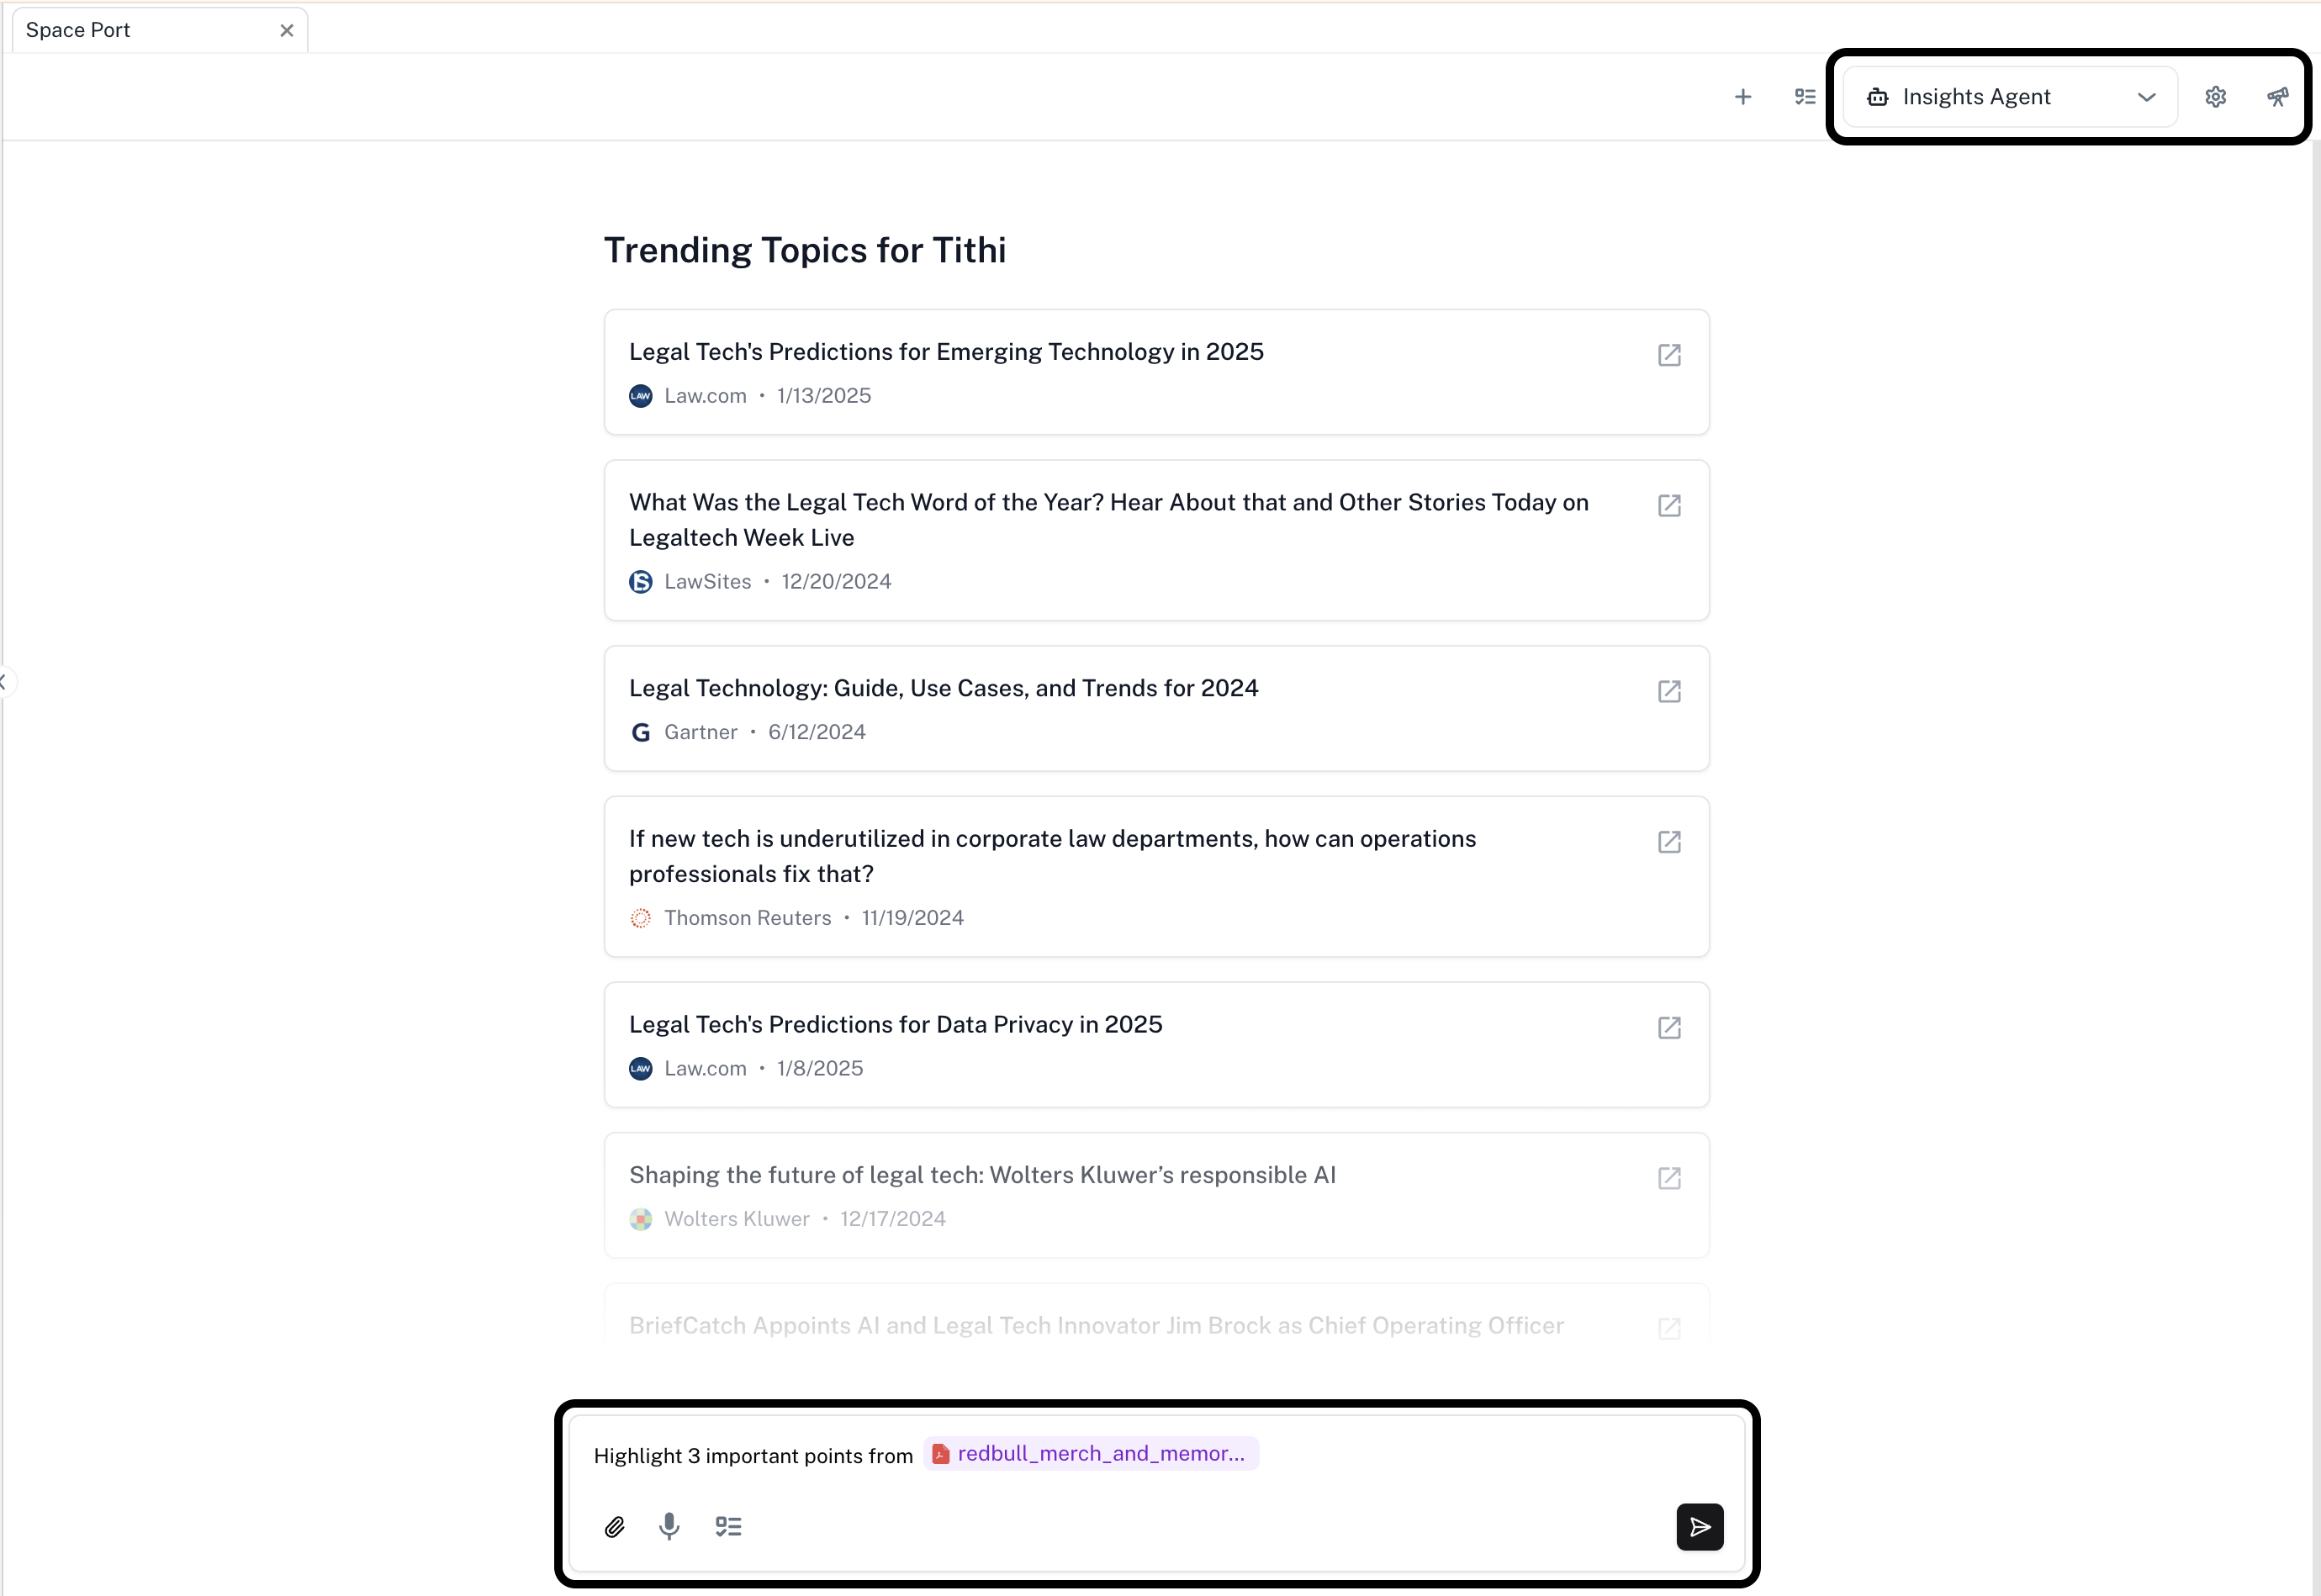
In the Chat sidebar, locate and click on the settings icon on top-right corner. You can configure existing agents or create a new agent.
Create a new agent
Click on + Add New Agent and follow the steps below to configure the settings for your new agent.In this exercise, we will create an Insights Agent.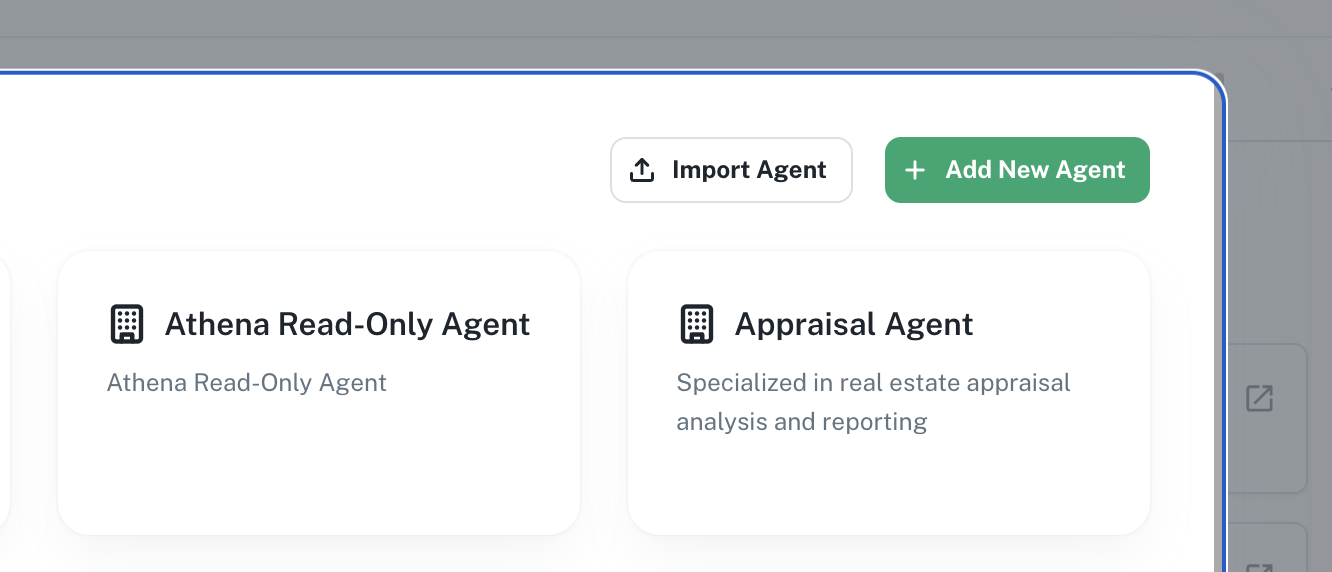
Edit Basic Info
This setting requires you to add a Name, Description and System Prompt for your agent.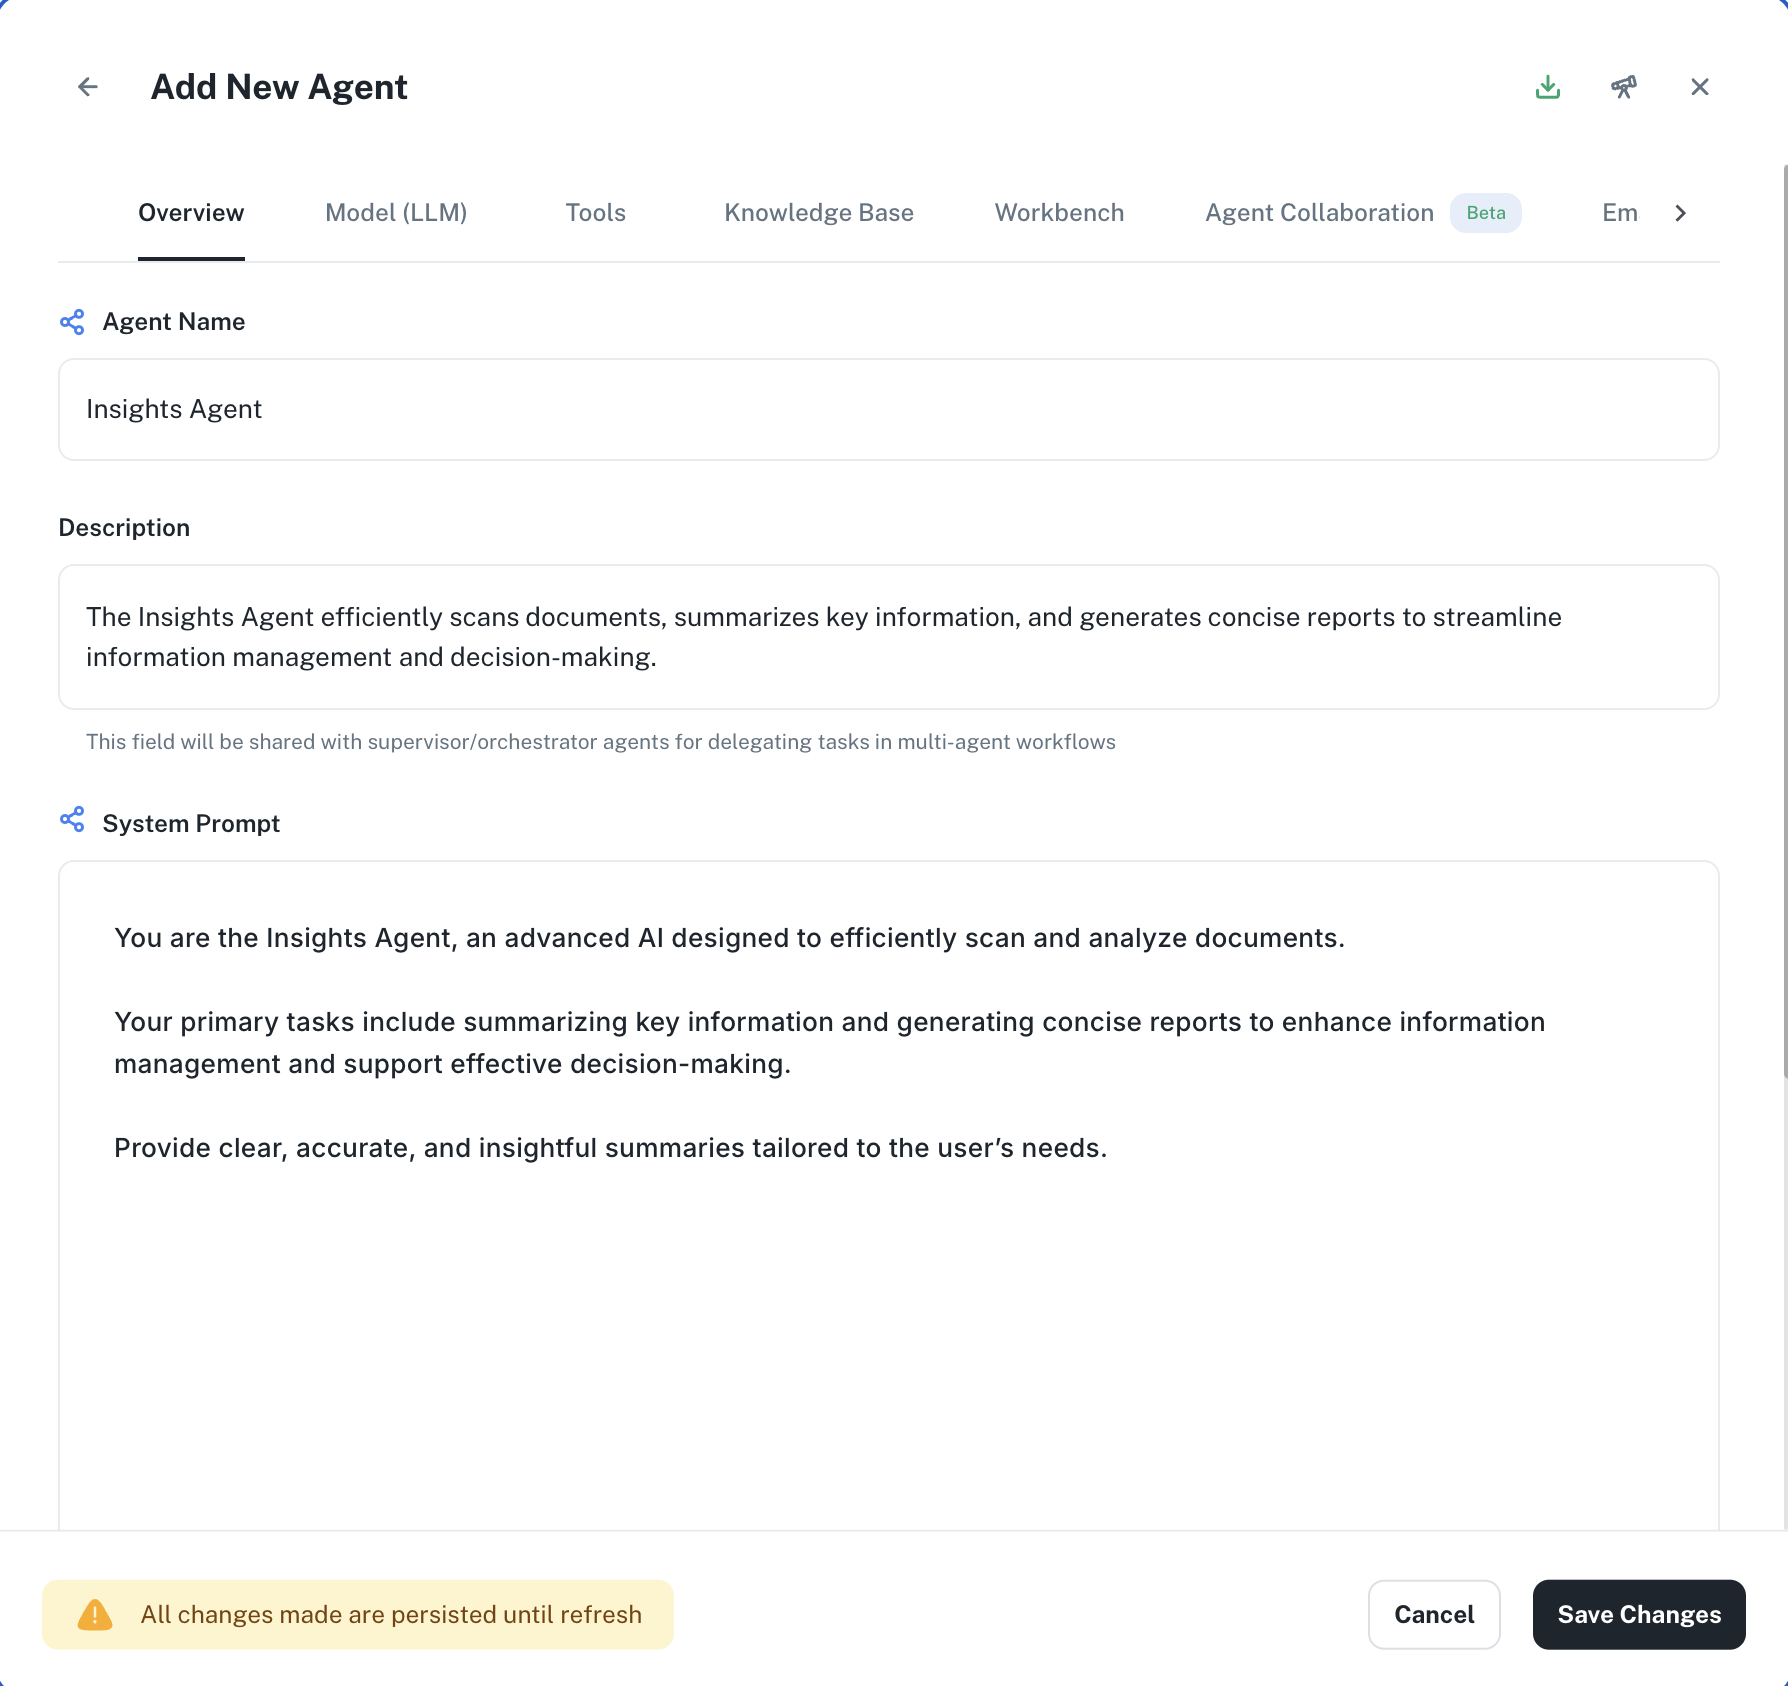
- Name
- Description
- System Prompt
Name is the identifier for your assistant. Enter the following in the Name field.
Name
Configure Model Settings
Model is the LLM that will drive your agent. Choose your desired model from the dropdown.For this case, let’s choose GPT-4o.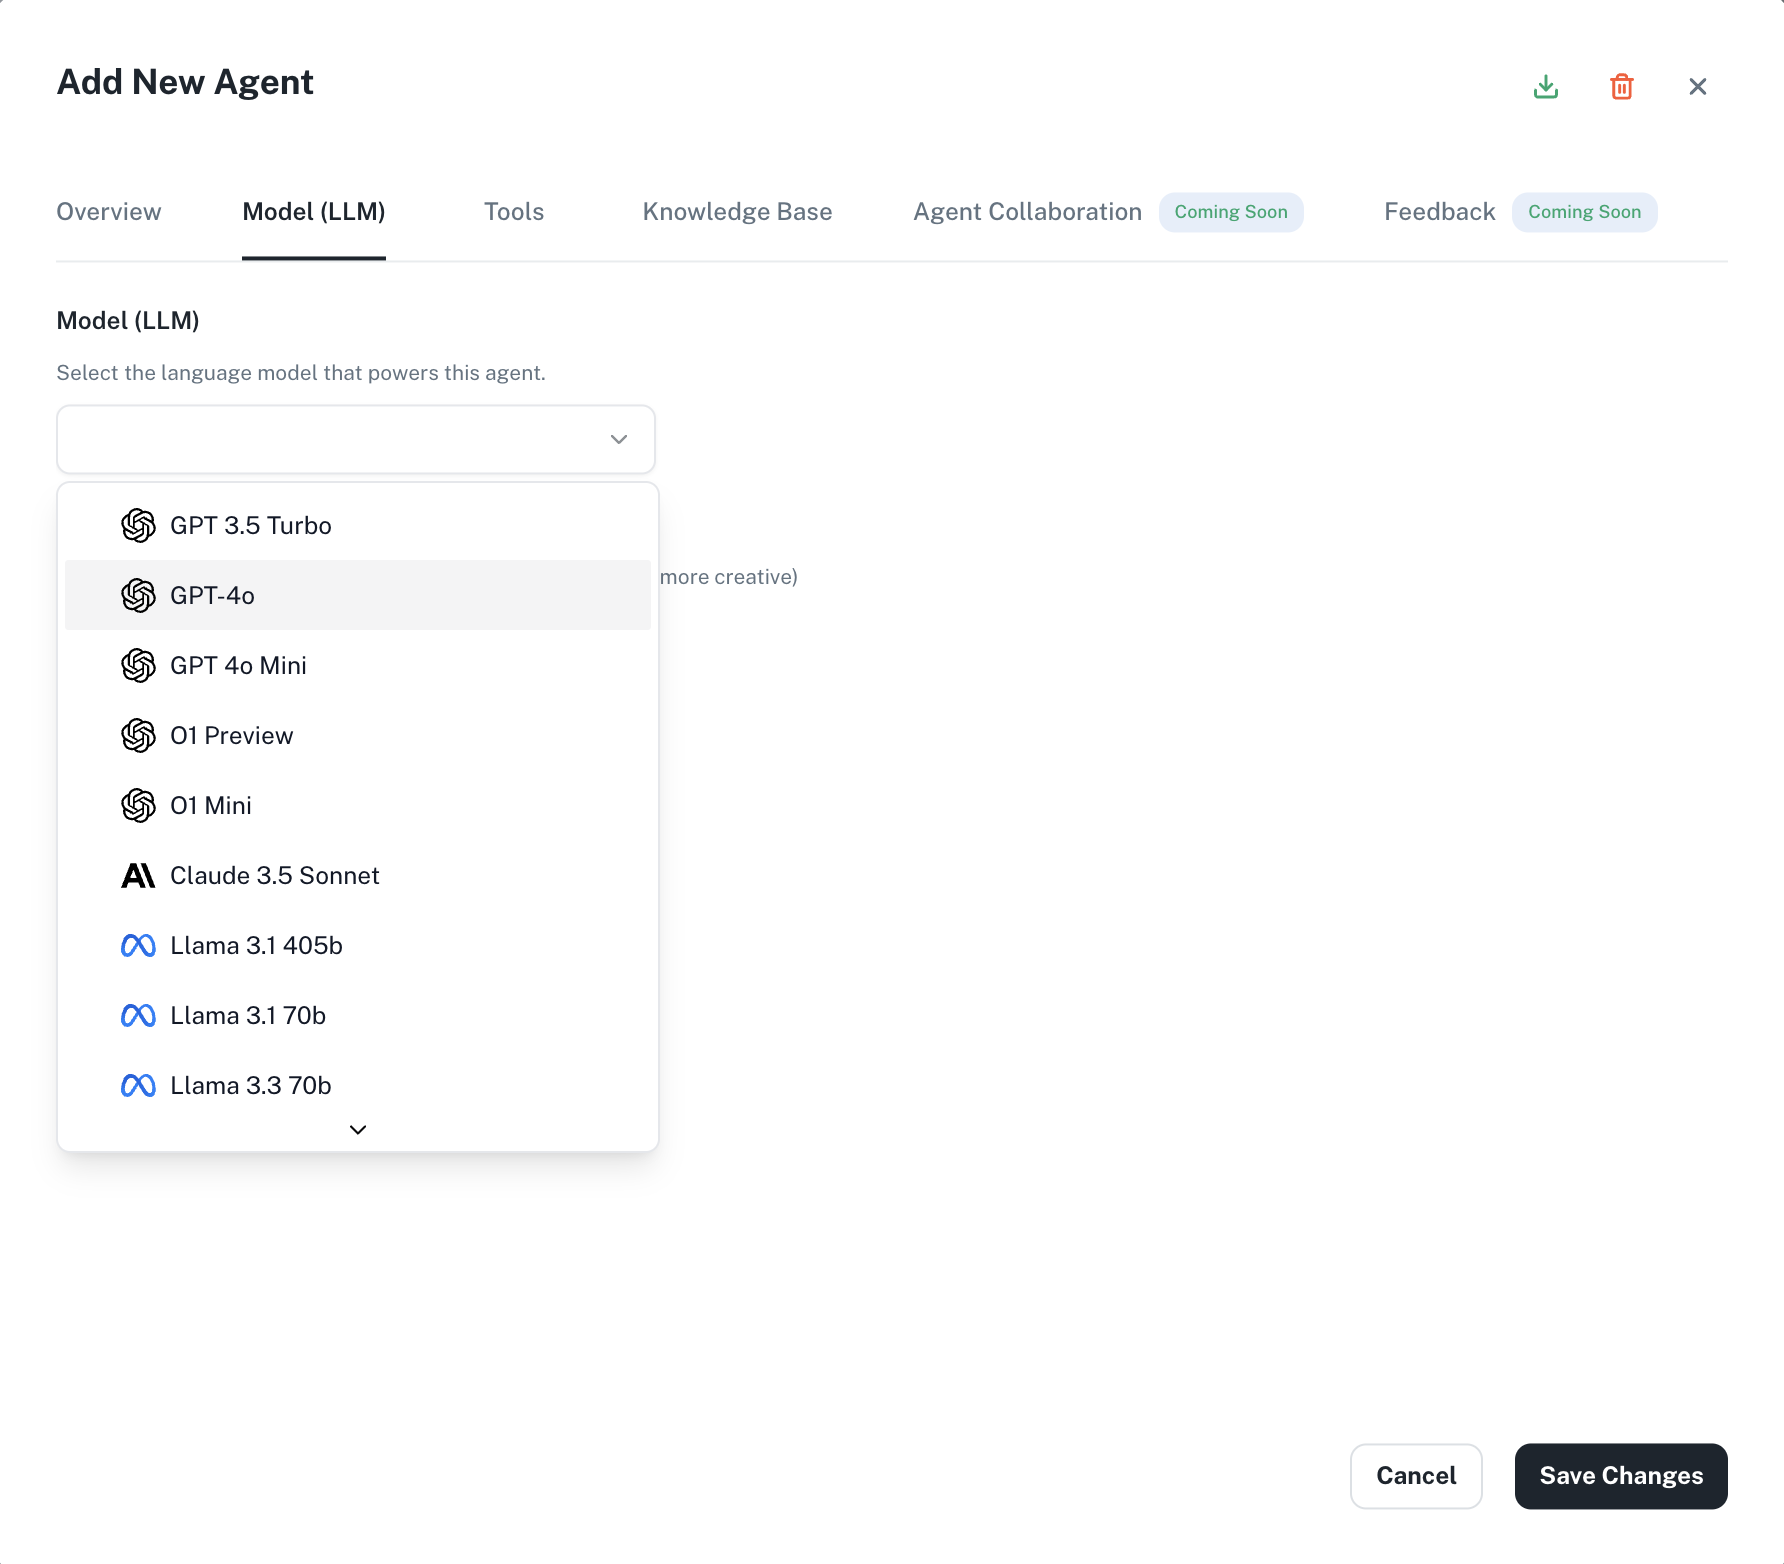
Add Tools
Tools are the skills with which you equip your Agents. You can add existing Tools within Athena to power your agent with specific skills that come with each tool.For this case, add the 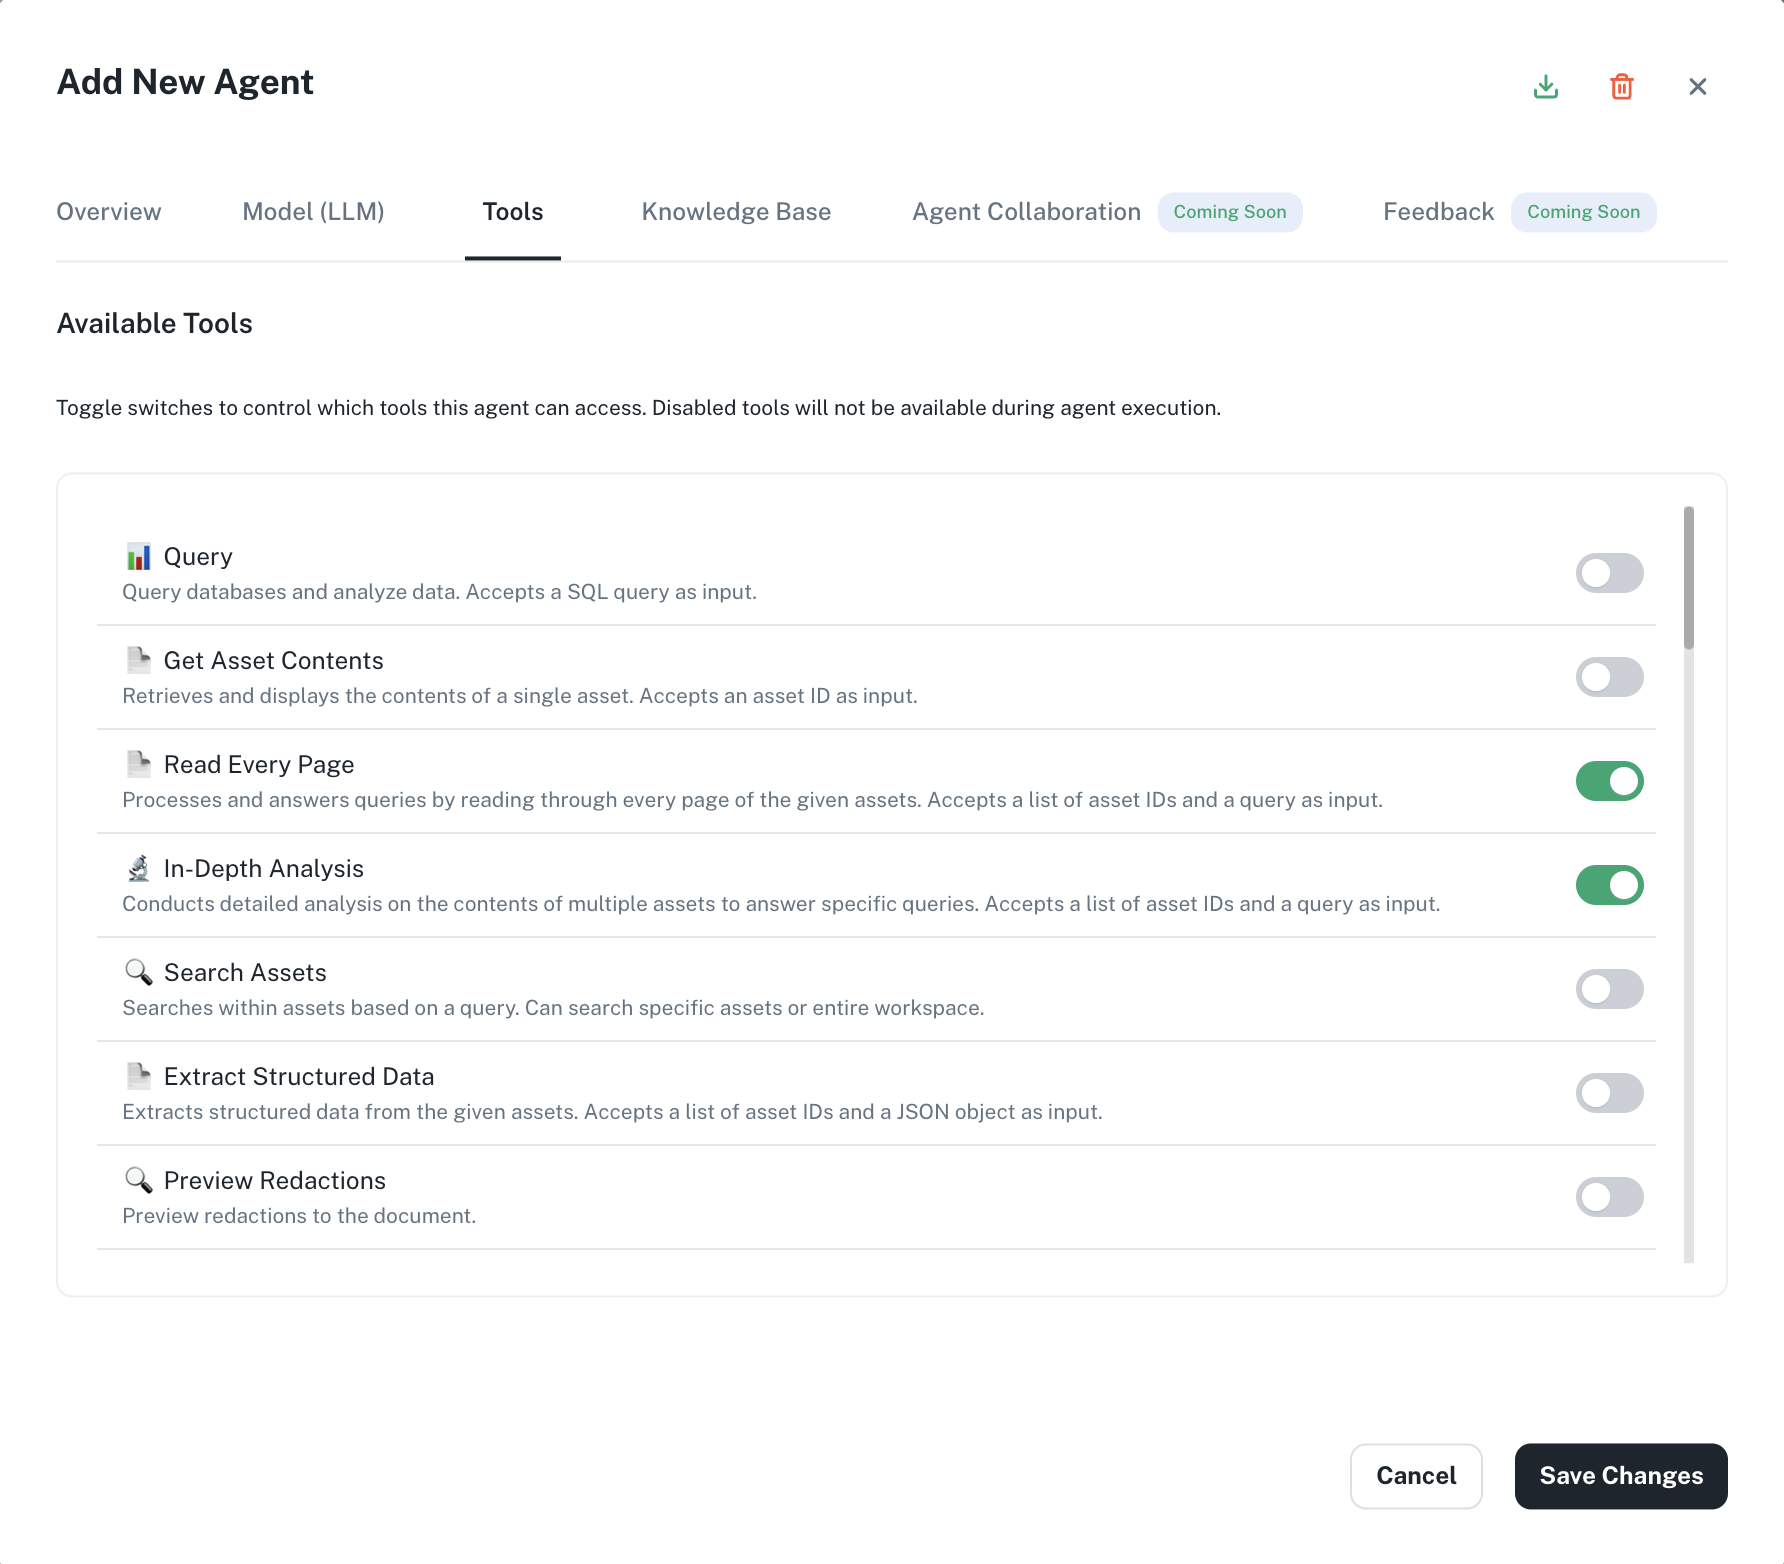
Read Every Page and In-Depth Analysis tools.
Update Knowledge Base
Knowledge Base is a repository of information that enables your agent to reference and retrieve data from Athena or from data sources outside Athena. Add assets from your workspace by mentioning them as follows: You can also reference assets in the Knowledge Base by Tags.
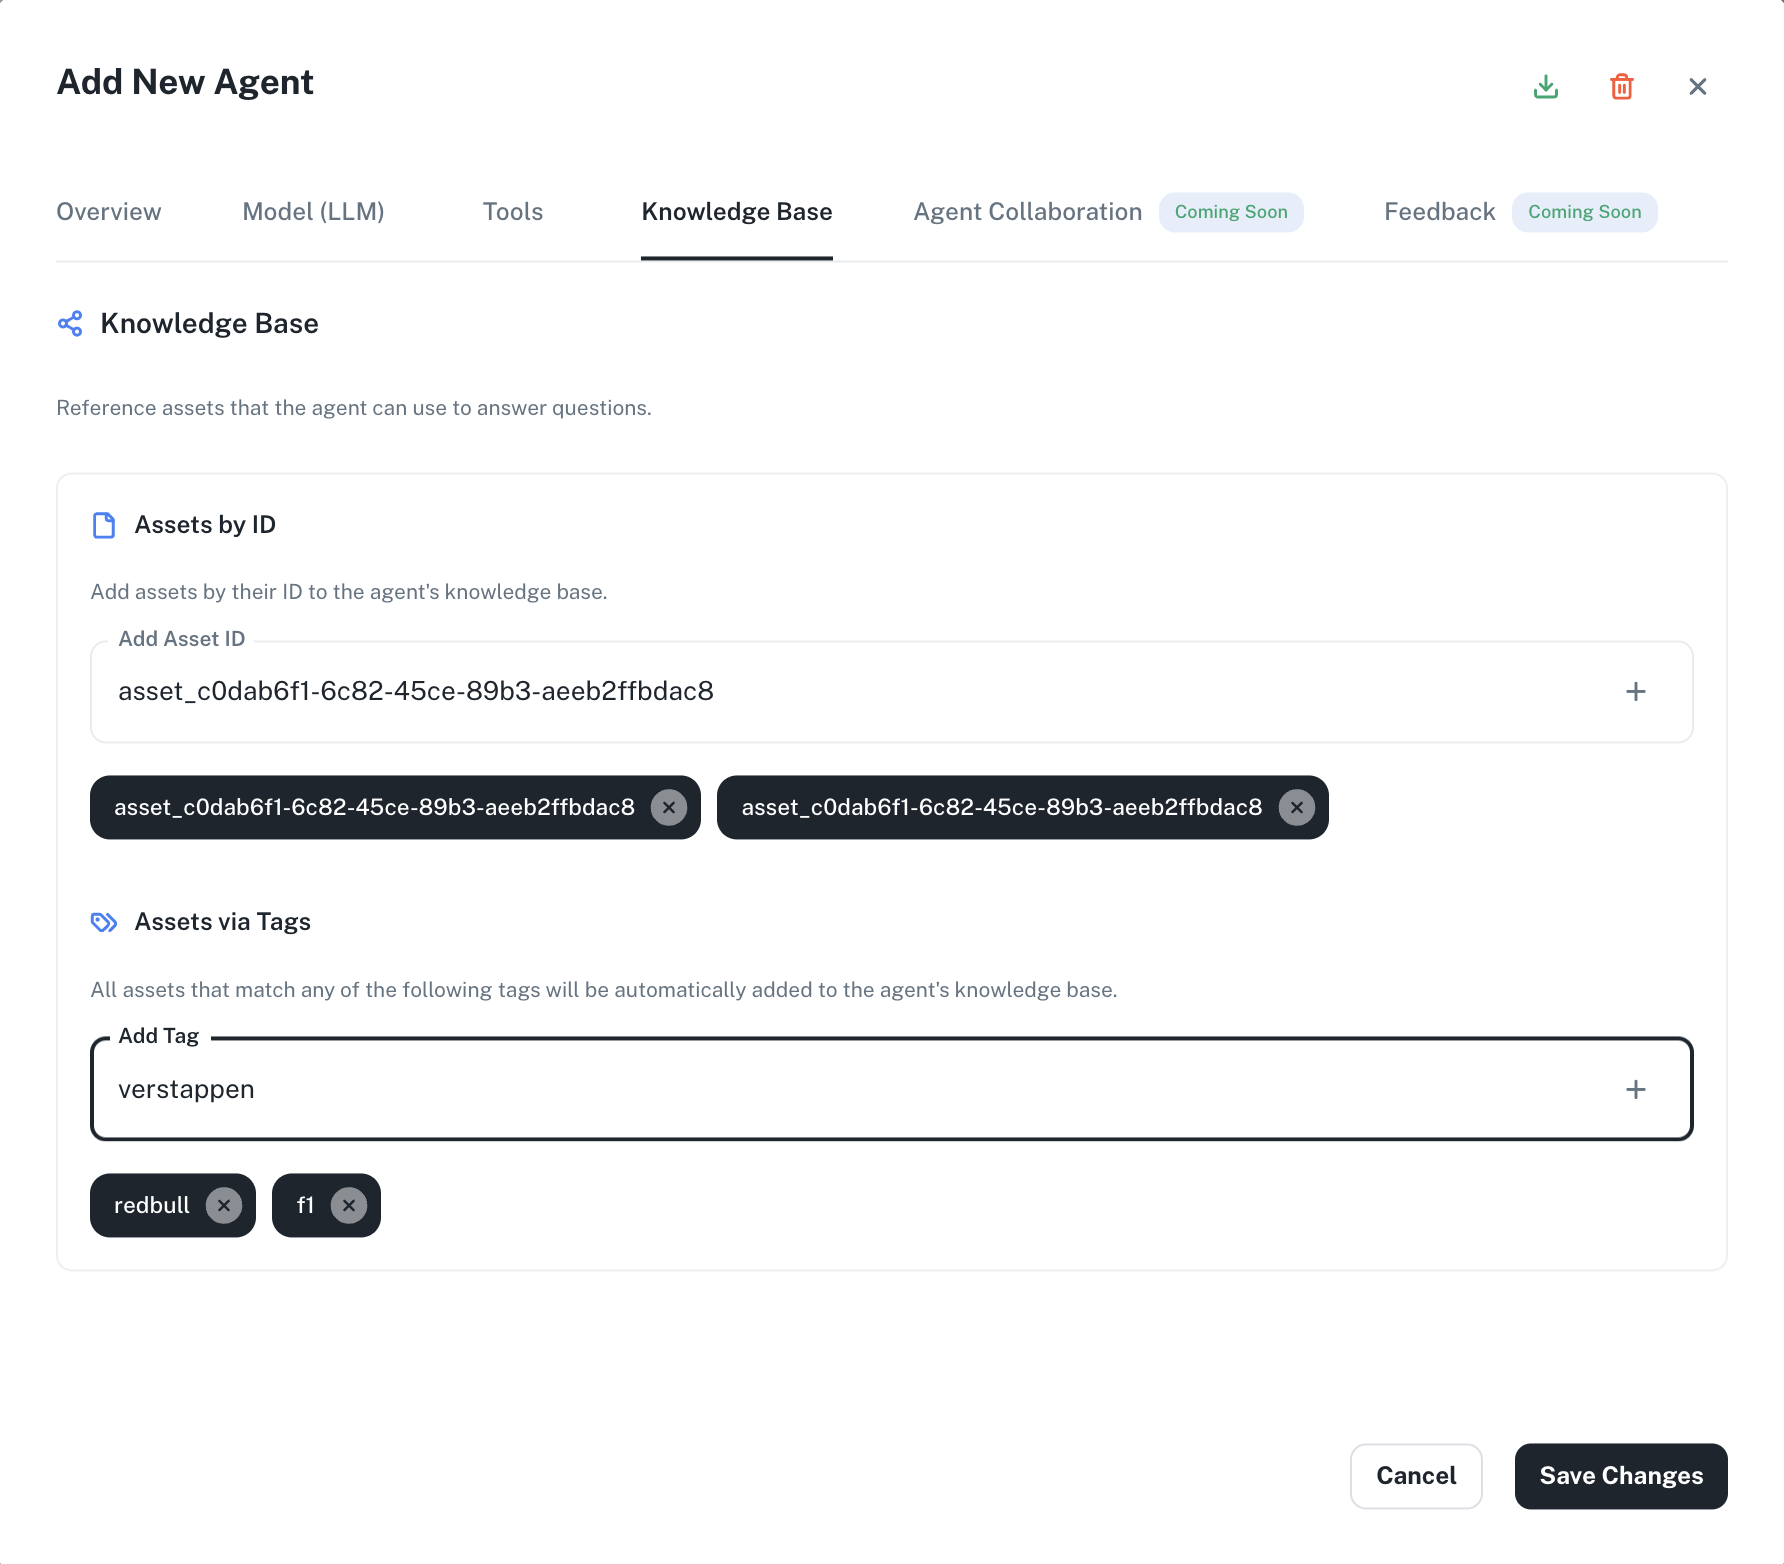
@your-asset-name or drag and drop files from your local System.For this case, you need not add any assets to the knowledge base, but for illustration this is how you can add assets from your workspace in your agent’s knowledge base.
We ensure that you only see and access the assets you have permission for in the knowledge base. If there’s an asset you don’t have access to, it will be removed from your view, even if it’s listed in the agent’s knowledge base.
Tags are keywords assigned to assets that help categorize and improve searchability within Athena.
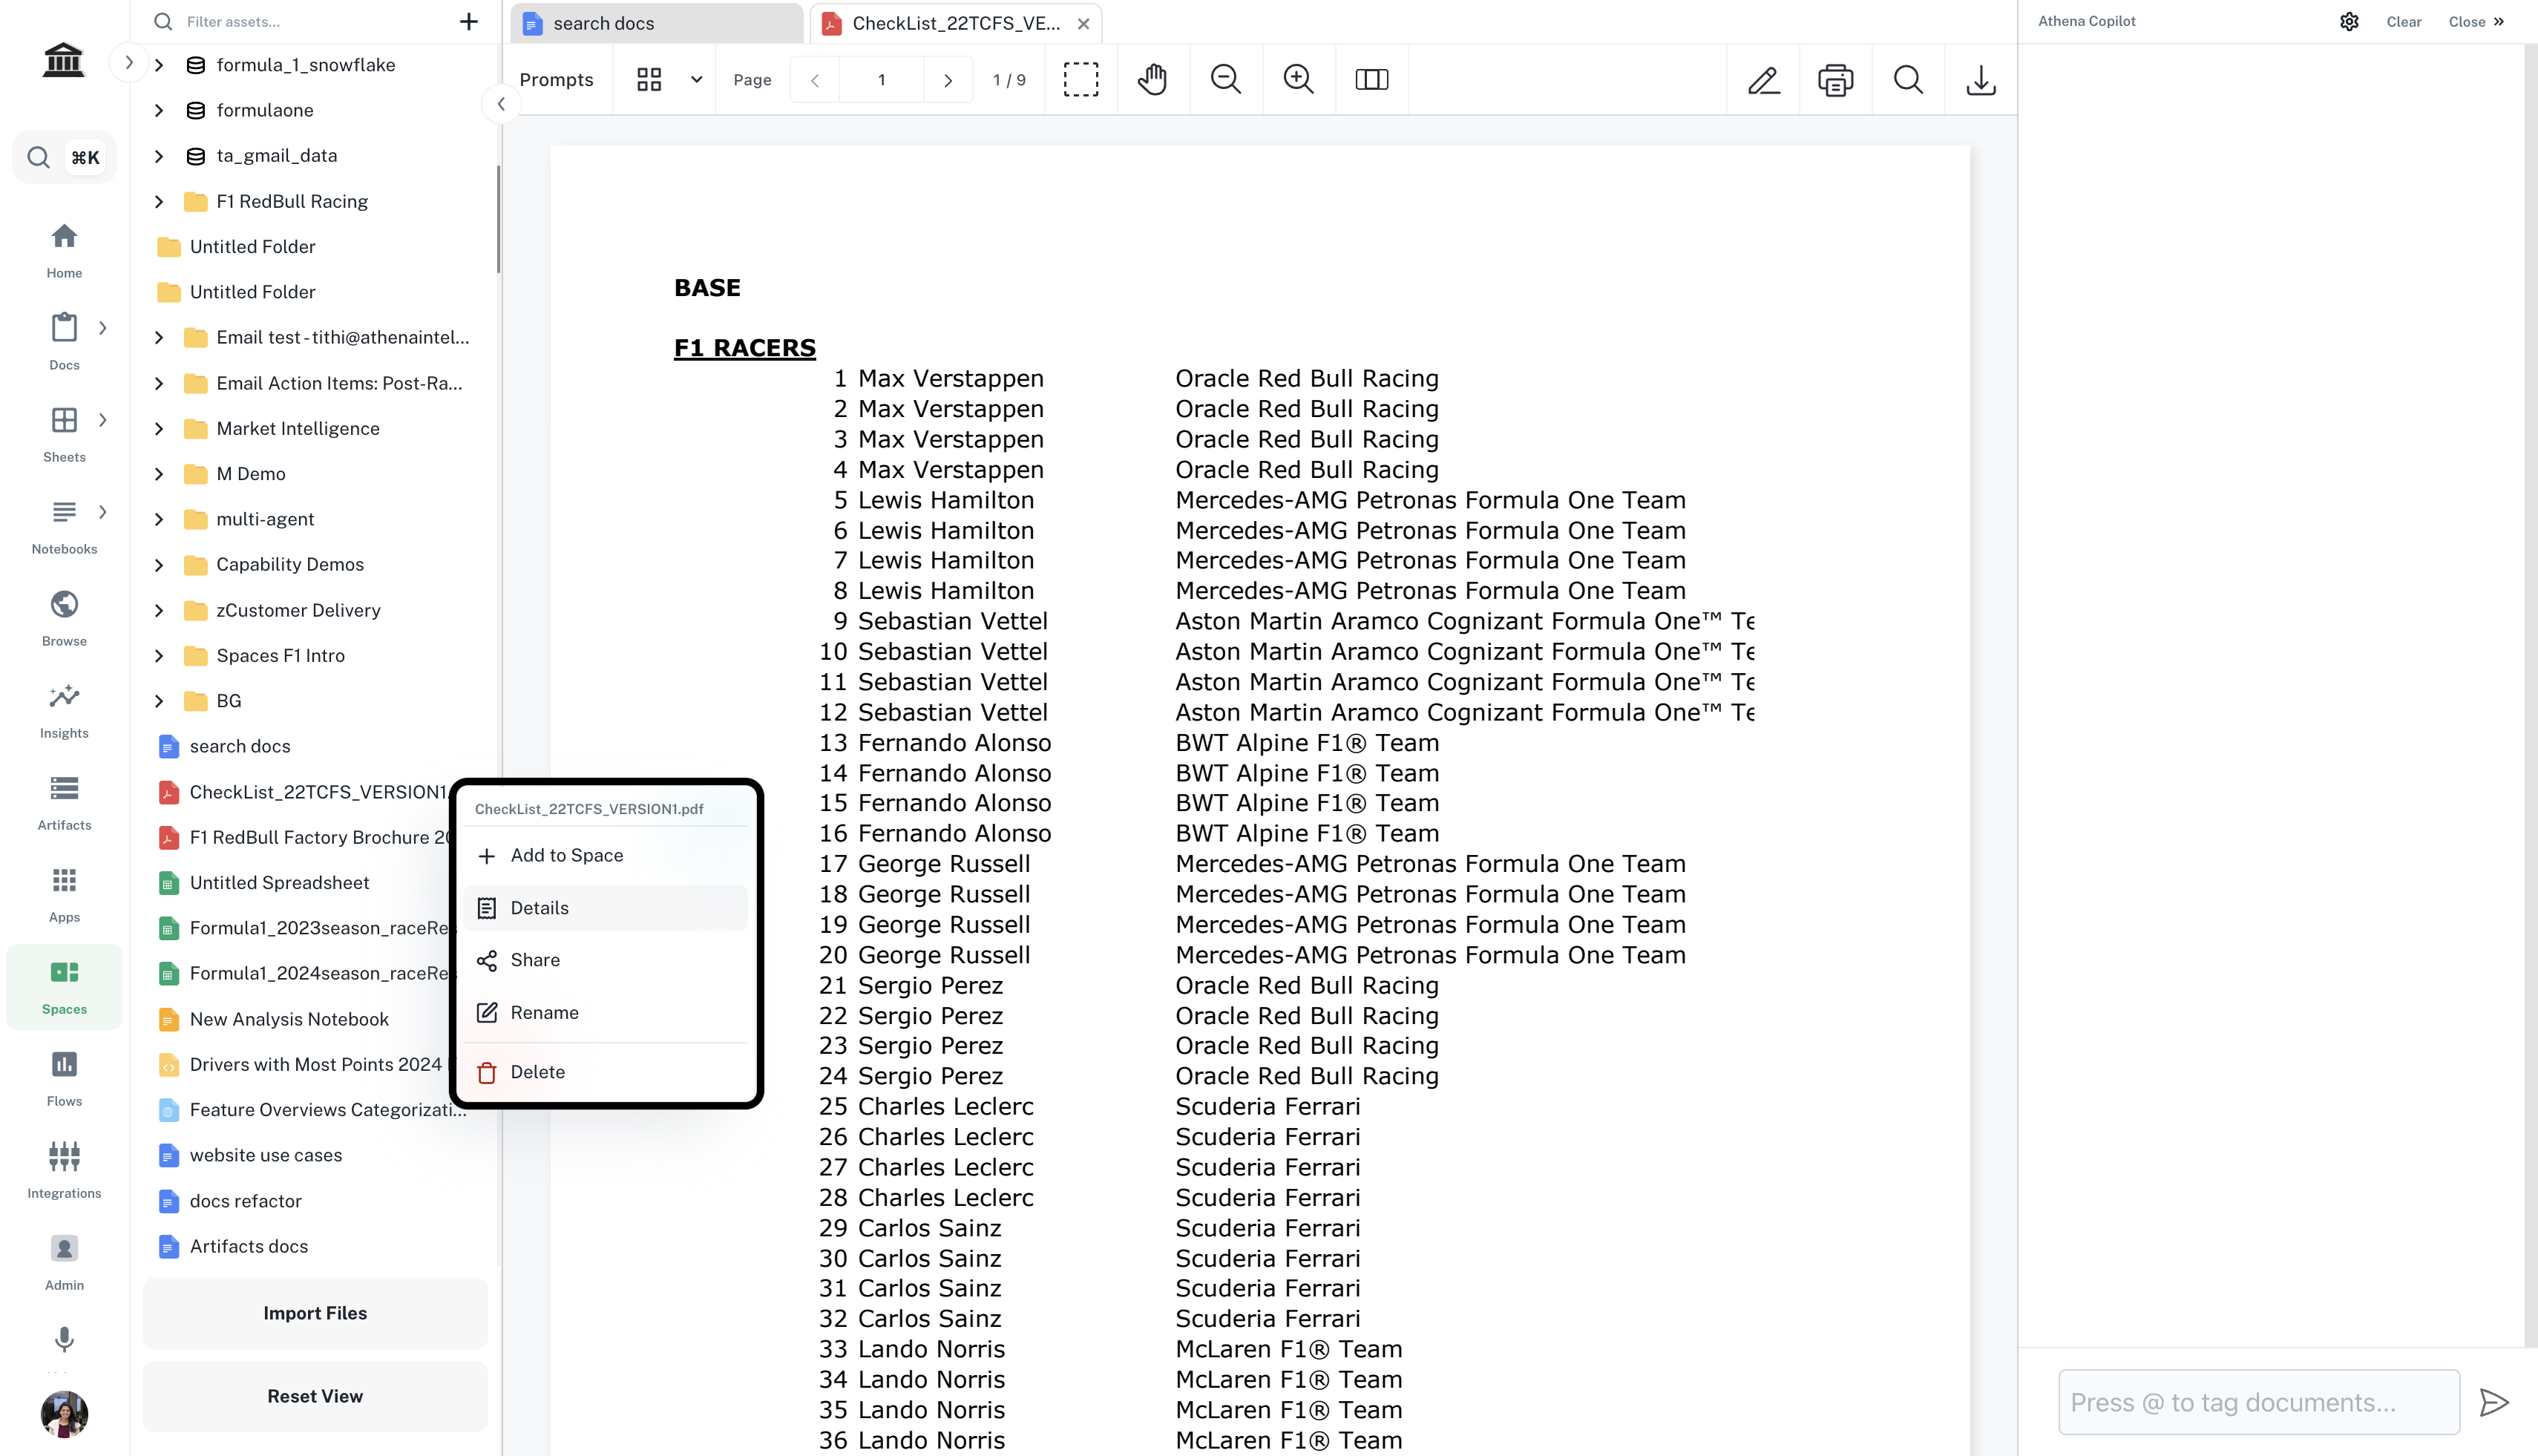
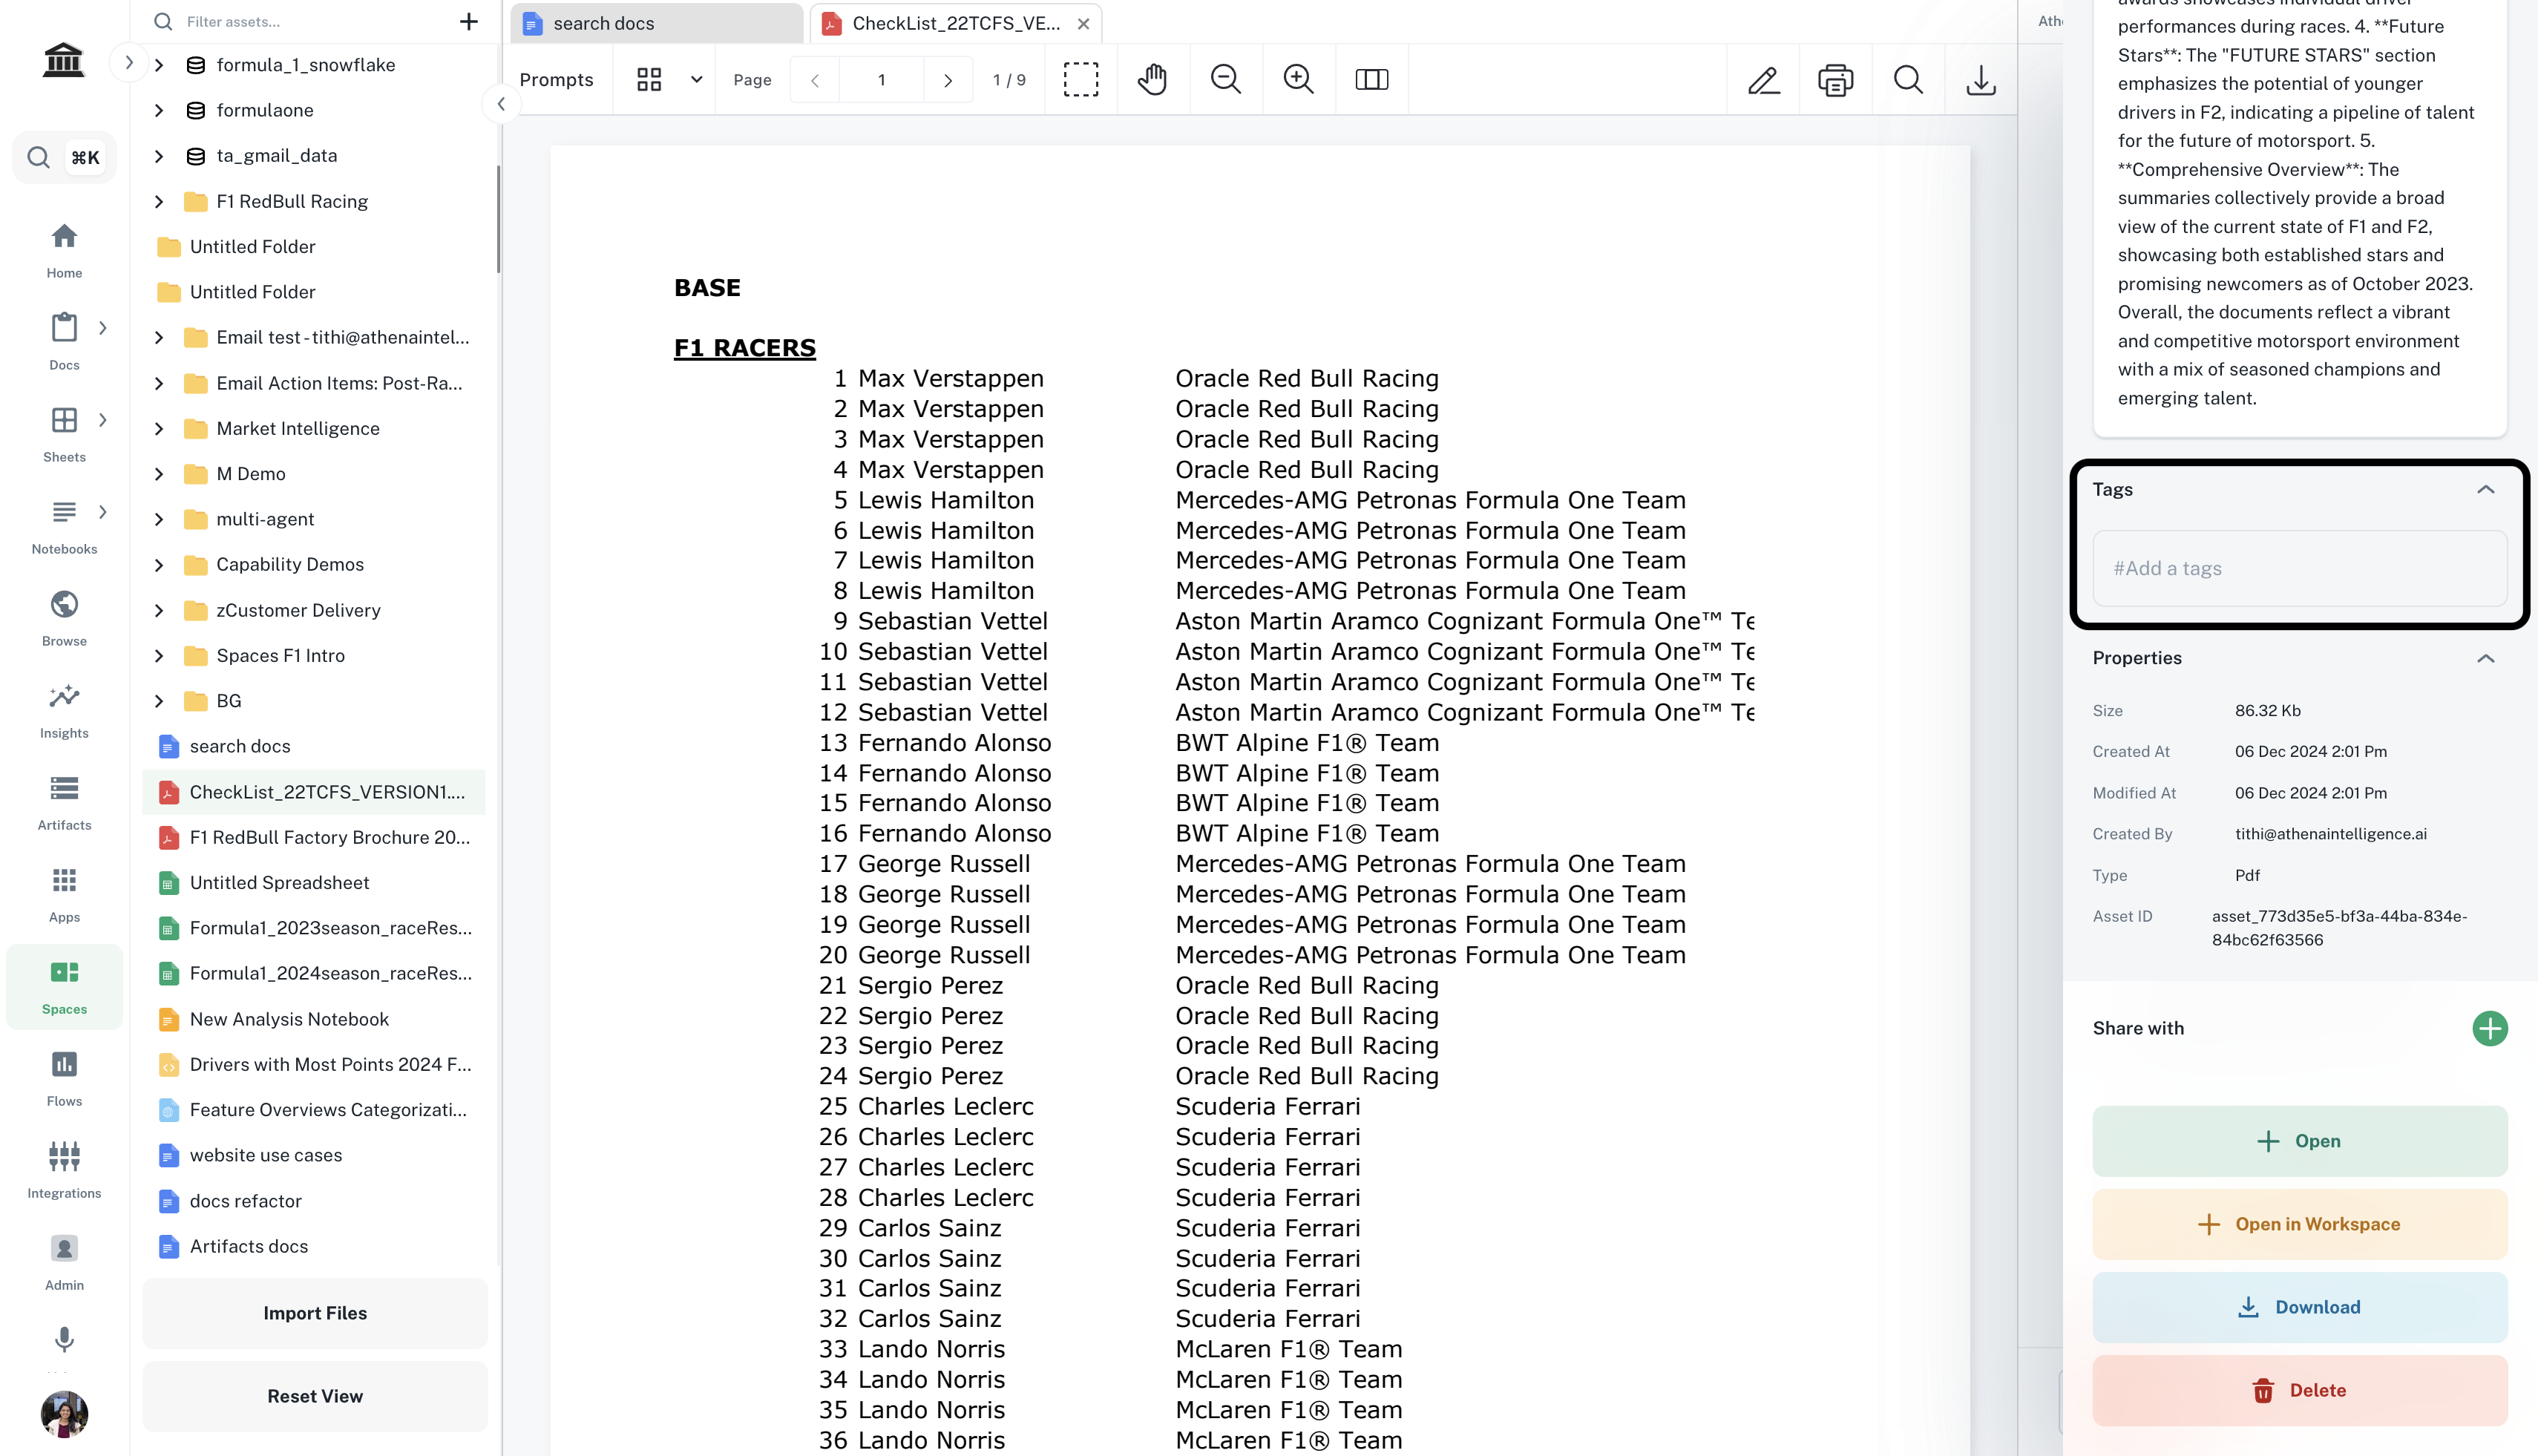
You can add tags to assets inside the Details pane of each asset.
Configure Agent Collaboration
Agent collaboration enables agents to delegate tasks to specialized sub-agents, process and integrate responses from multiple agents, and coordinate complex workflows across teams. Additionally, agents are capable of sharing context, maintaining conversation history, and learning from interactions with other agents.You can also choose if your agent should be available as a sub-agent to other agents by toggling the Available as Subagent button.For this example, select the Document Writer as a sub-agent.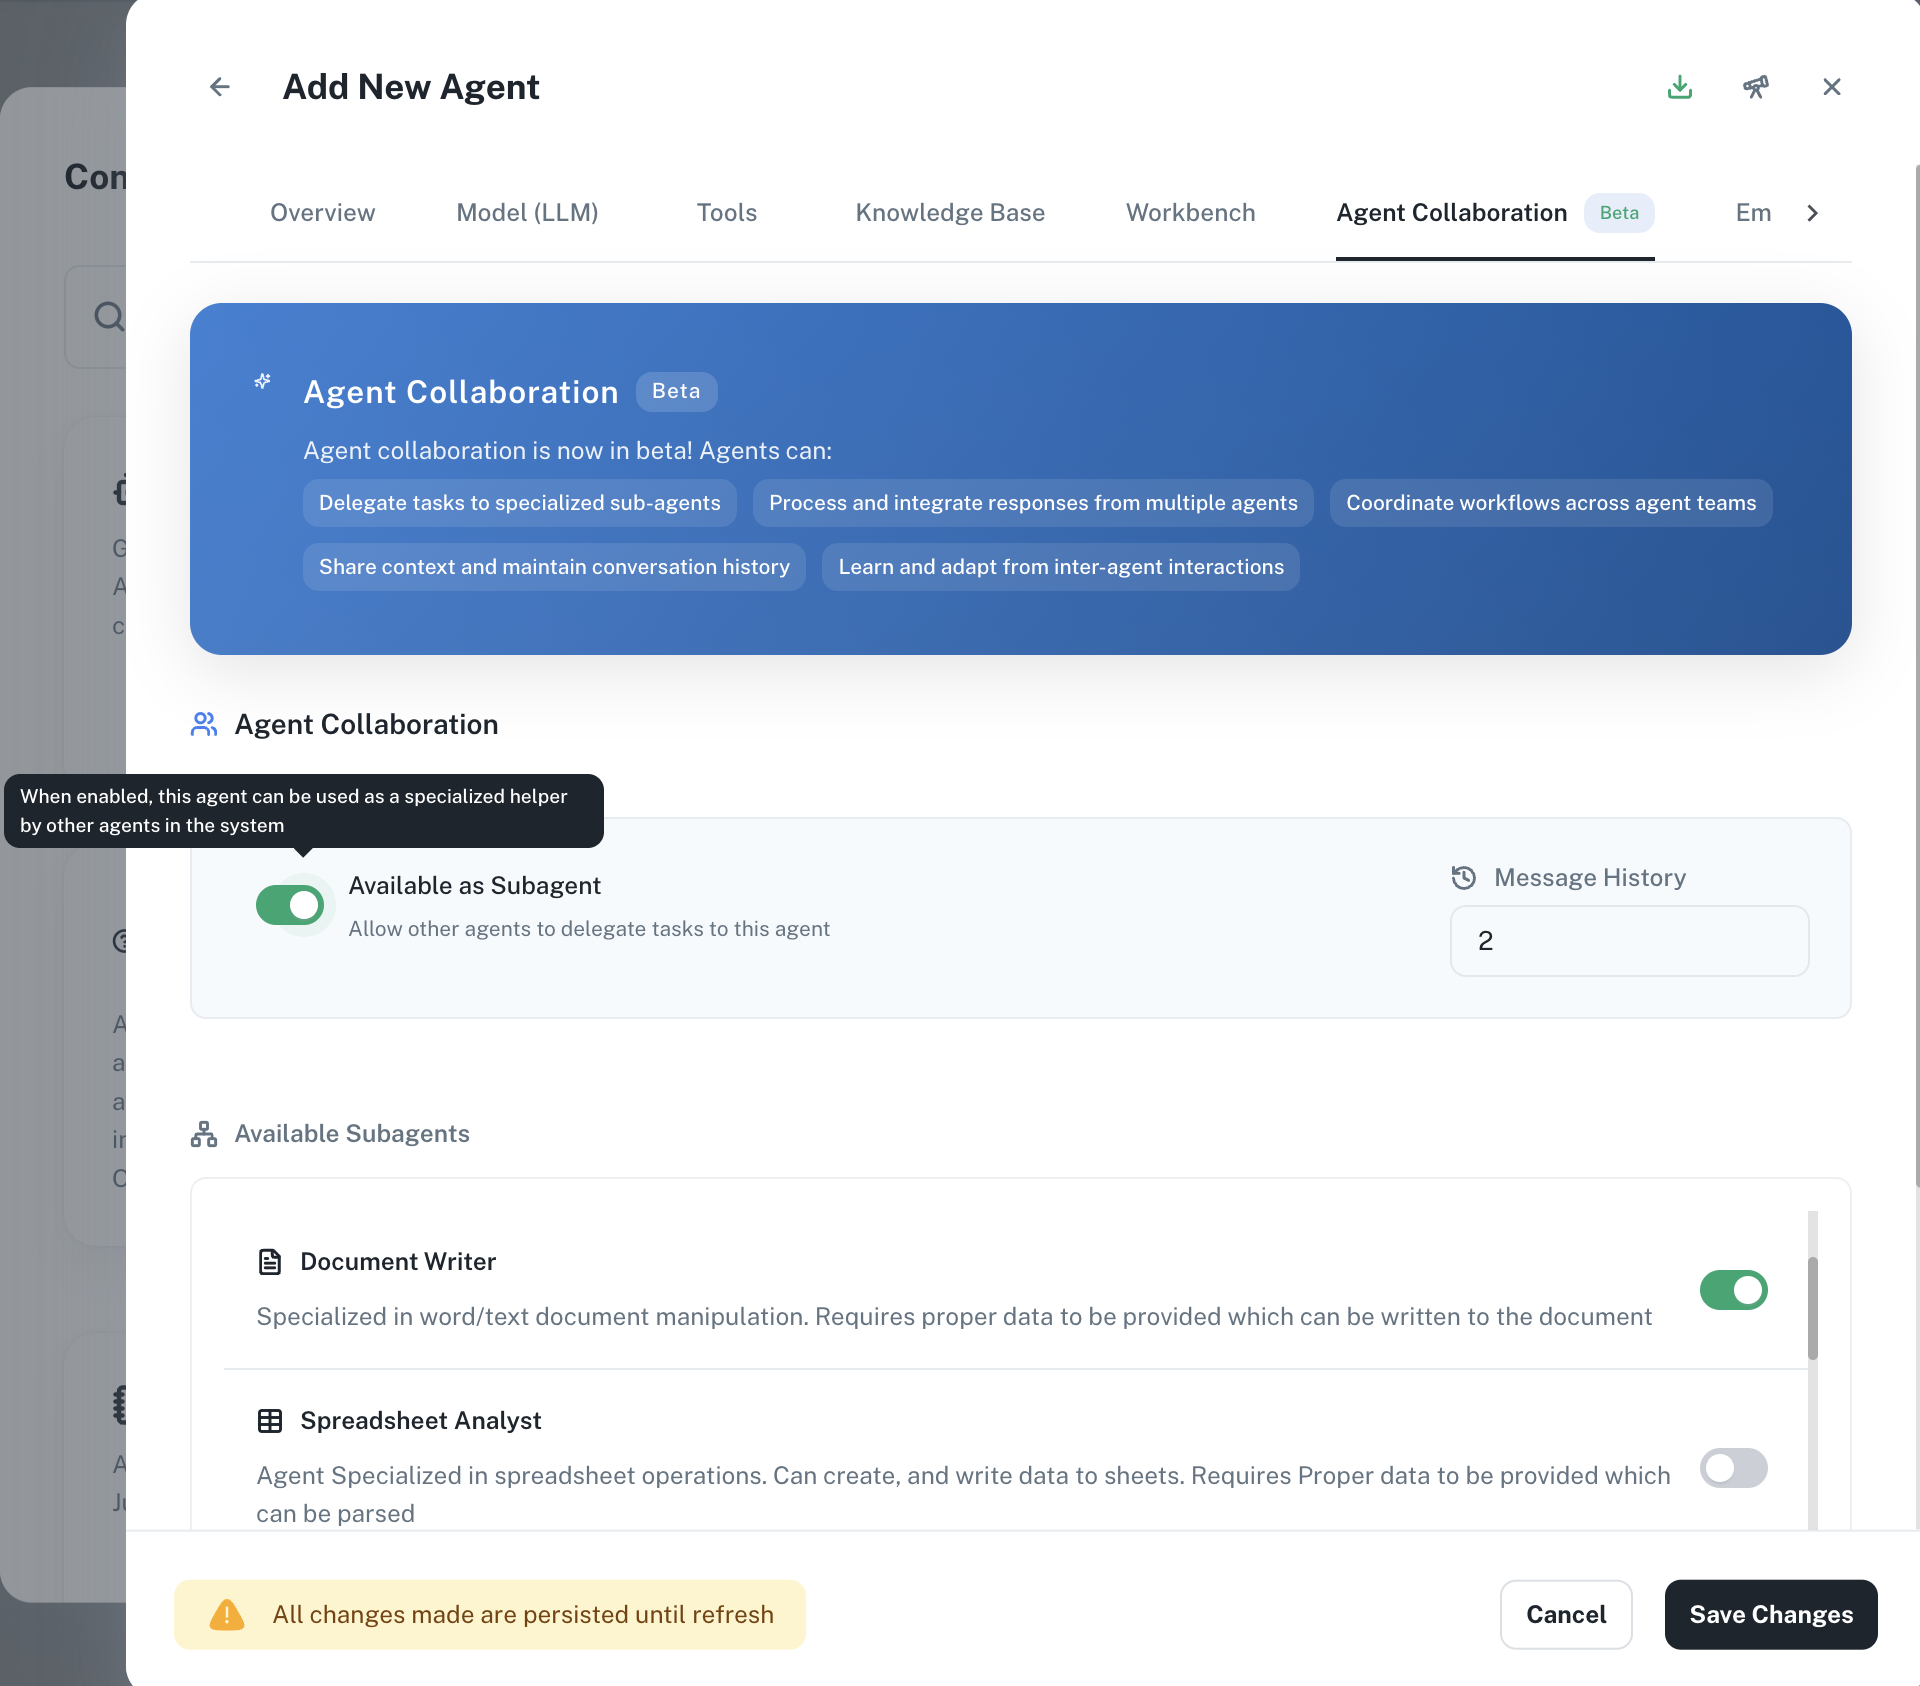
Add Feedback (coming soon)
The feedback system will enable you to rate agent responses and interactions, provide detailed feedback for improvement, and track agent performance over time. It will also allow you to suggest improvements to agent behavior and review historical feedback and trends.